ZCLAS Geoserver
ZCLAS uses a geoserver to host all of its spatial layers. The server hosts layers such as chiefdom boundaries, parcel boundaries, villages as well as a Google satellite background layer. In order to add additional layers to the maps in ZCLAS, you must add that layer to the Geoserver, and then configure it in ZCLAS.
The Geoserver Documentation includes guides on styling and getting started.
Requirements
- Geoserver with login credentials
- The geoserver for ZCLAS is located at: 13.244.91.45:8080/geoserver/web
- Ask a supervisor or project manager for the username and password
- Access to the server through Webmin or PuTTY
Upload Spatial Files to Server
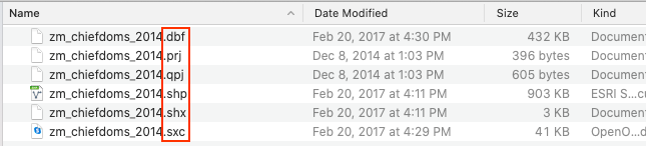
- Download the spatial files you want to upload onto ZCLAS and unzip. The folder should contain all the files needed to properly load and display the layer.
- Log into the server through PuTTY and navigate to the following folder: var/lib/tomcat9/webapps/geoserver/data/data
- Upload the unzipped folder into the folder
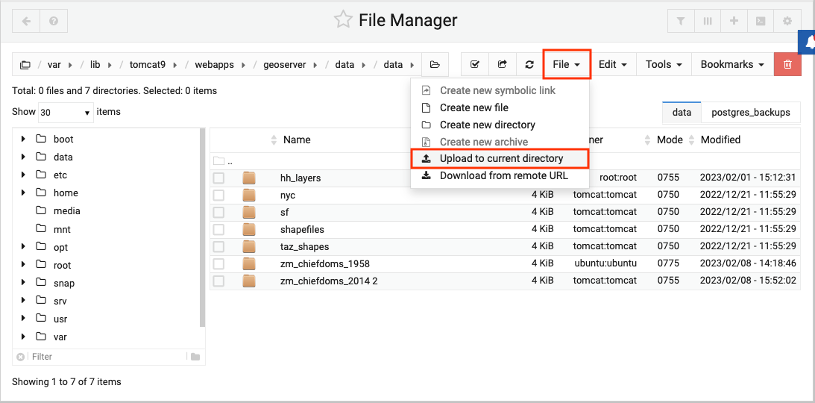
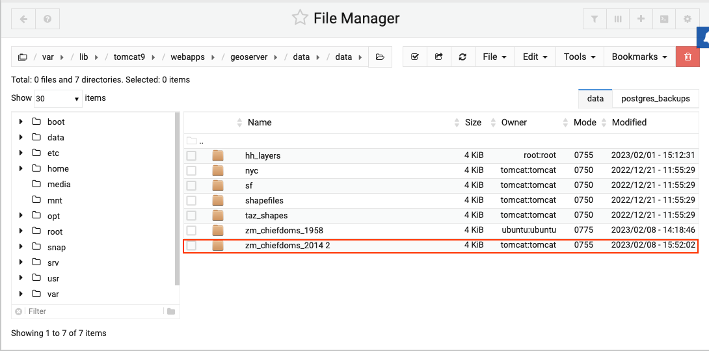
- OR log into webmin and use ‘File Manager’ to navigate to the same folder: var/lib/tomcat9/webapps/geoserver/data/data
- Then click ‘File’ and ‘Upload to current directory’
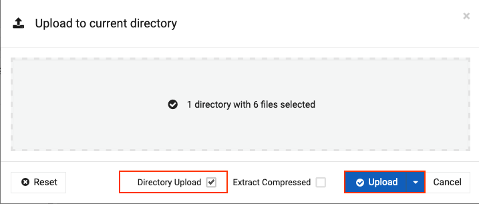
- In the pop up window, click ‘Directory Upload’ to upload the entire unzipped folder, otherwise the layer won’t be configured properly and will not display
- Then drag and drop the unzipped folder and hit upload
- You should see the unzipped folder in the file manager window
Configure Files in Geoserver
- Go to the geoserver and login with the proper credentials
- 13.244.91.45:8080/geoserver/web
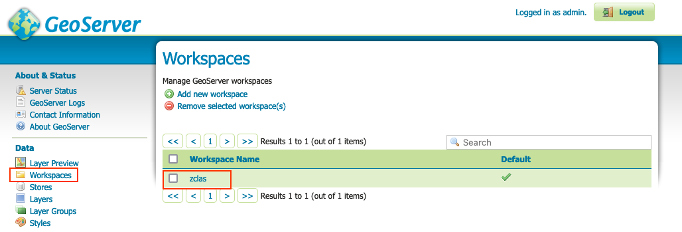
- We will be working with the zclas ‘Workspace’
Publish New Layer from Store
- Go to ‘Stores’, then ‘Add New Store’
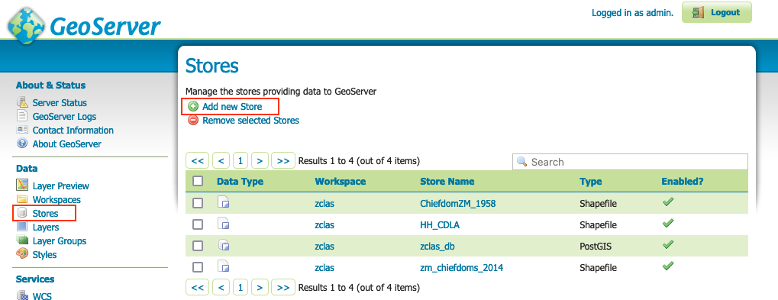
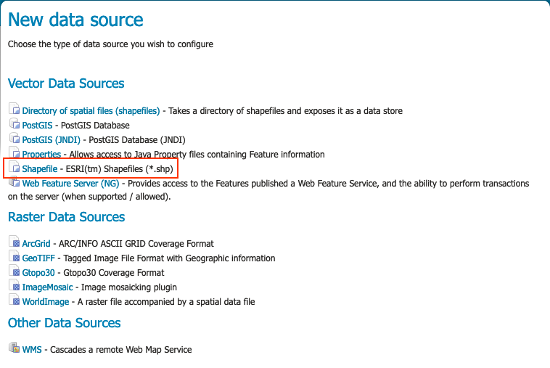
- Then choose the type of vector or raster data that you uploaded to the server (most likely a shapefile)
- Set the workspace to ‘zclas’, name the data source
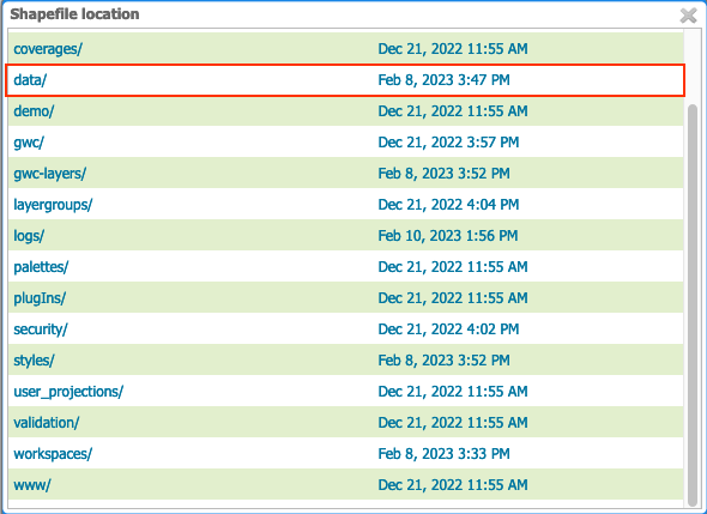
- Under ‘Connection Parameters’, click on ‘Browse…’
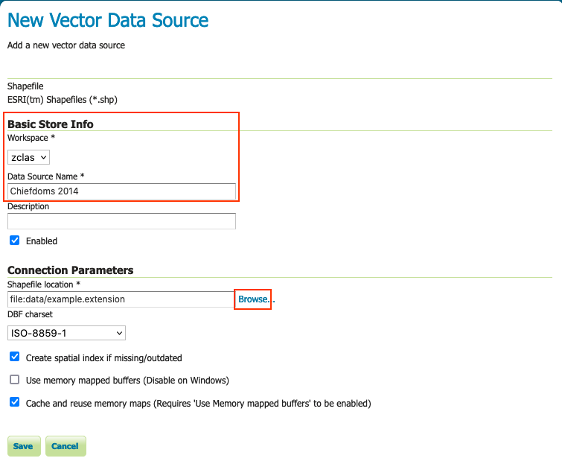
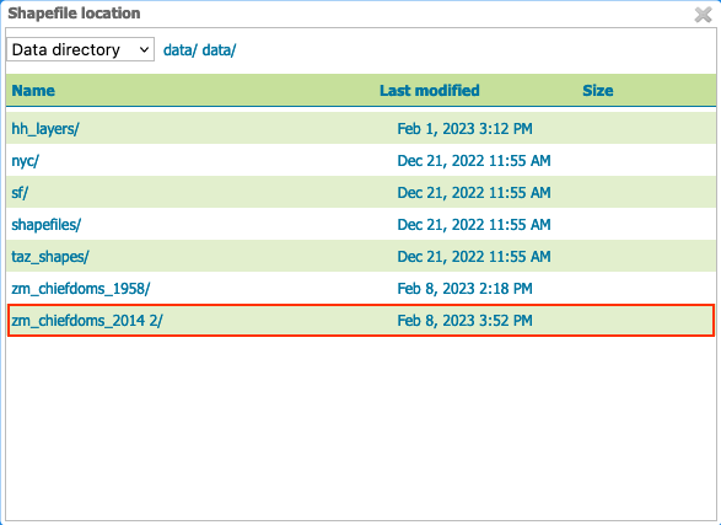
- Navigate to the data/ folder, where we uploaded the shapefile, then click on the folder, and then the shapefile
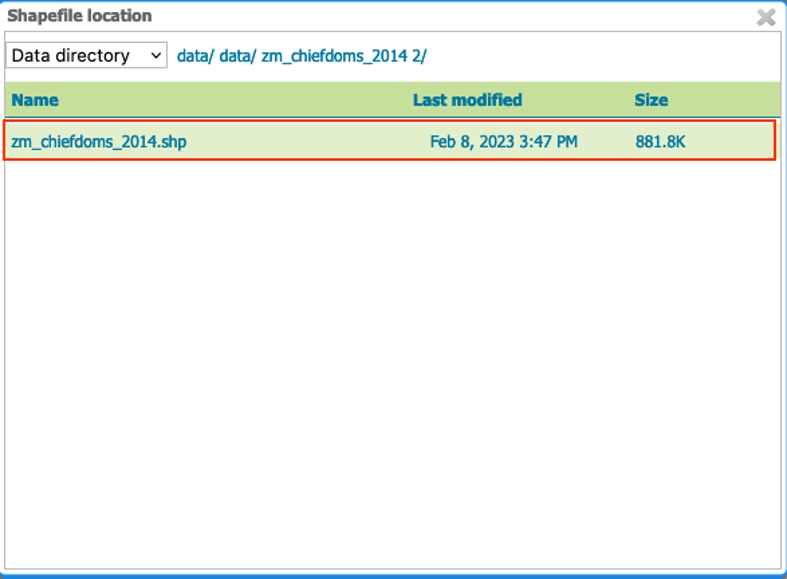
- Then you should see the shapefile in the shapefile location field

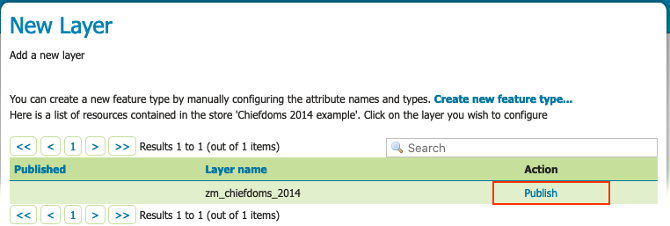
- Hit ‘Save’, the ‘New Layer’ window will pop up, click on ‘Publish’
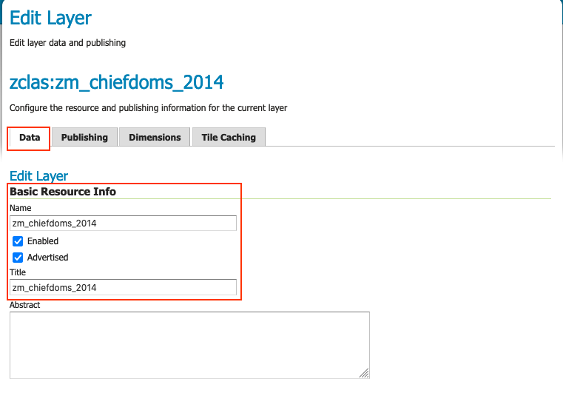
- Under the data tab:
- Check the name and title
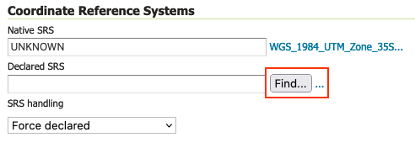
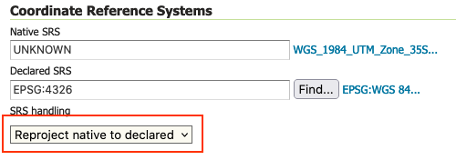
- Scroll down to ‘Coordinate Reference Systems’
- Under ‘Declared SRS’, click ‘Find…’
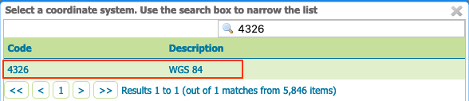
- We need to set the ‘Declared SRS’ to 4326 WGS 84, search 4326, then click on 4326
- Under ‘SRS handling’, choose ‘Reproject native to declared’
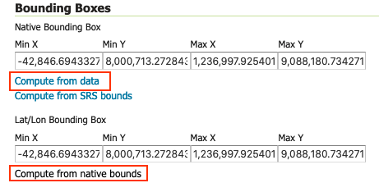
- Under ‘Bounding Boxes’, click ‘Compute from data’, and ‘Compute from native bounds’
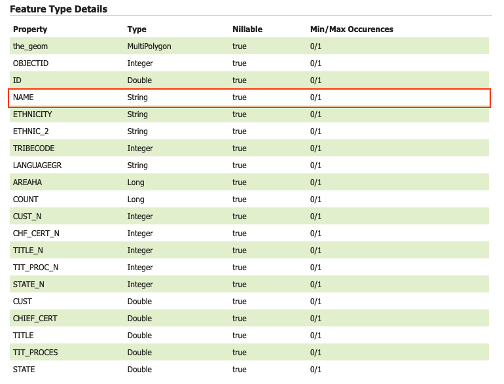
- Under ‘Feature Type Details’, note which fields you might want to use as labels for styling, for example, ‘NAME’
- Under the ‘Publishing’ tab
- Set the ‘Default Style’, choose the default ‘polygon’ for now
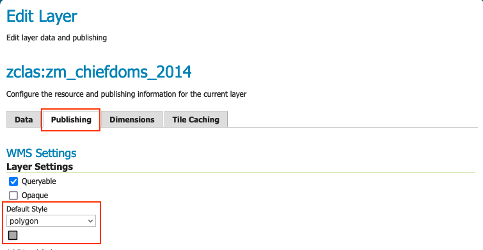
- Then scroll to the bottom and hit ‘Save’
Create Style for Layer
- We set the style for this layer to polygon, now we need to create a style for the layer that makes more sense
- Go to the ‘Styles’ page, and click on a pre-existing style to modify (so we don’t have to rewrite all the code)
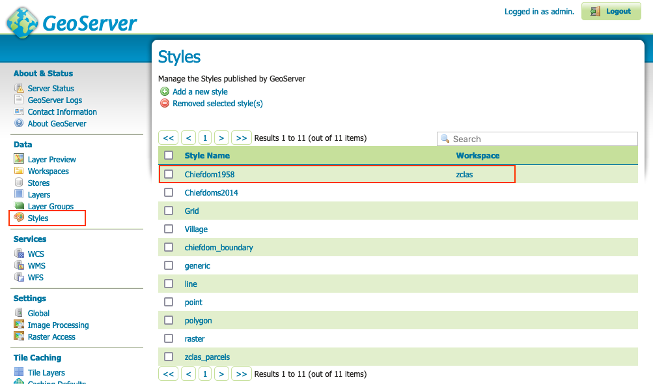
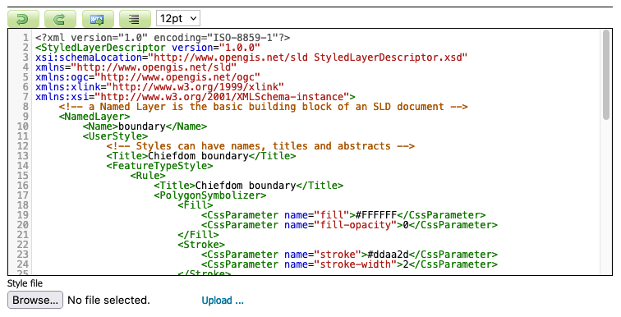
- Scroll down and copy the code
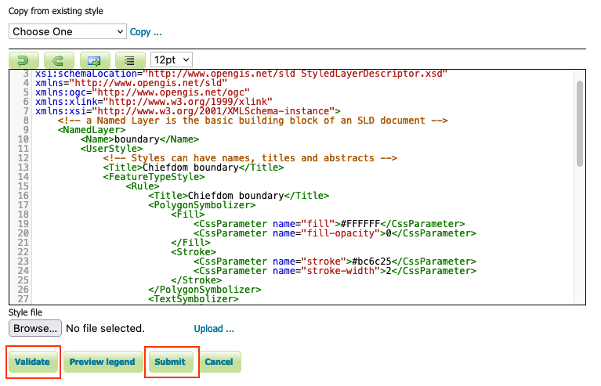
- Then go back to the ‘Styles’ page and then click ‘Add a New Style’
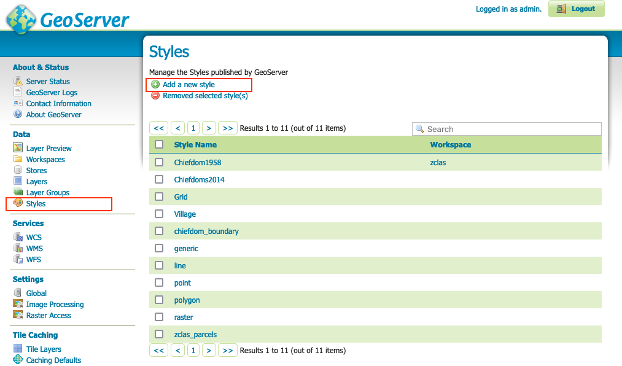
- Name the style
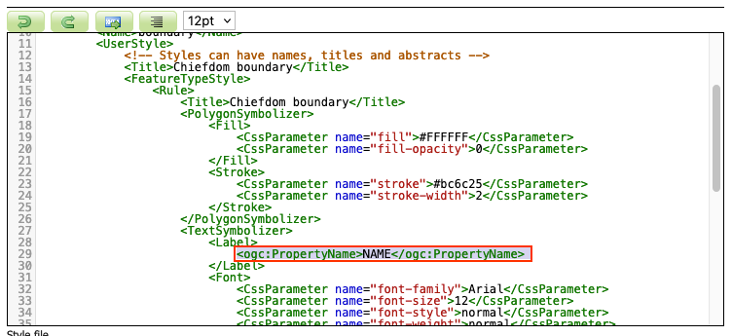
- Paste the code you copied before, we need to change two things: the color of the outline, and the field used to label
- Edit the stroke color by editing the hex code
<CssParameter name="stroke">#bc6c25</CssParameter>
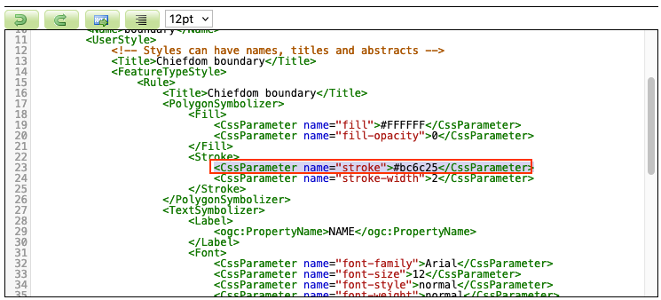
- Edit the label to the field you want to use to label the features
<ogc:PropertyName>NAME</ogc:PropertyName>
- Then ‘Validate’, if everything looks good, click ‘Submit’
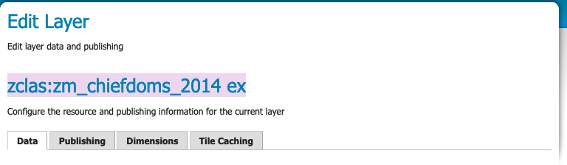
- Then go to ‘Layers’ and click on the layer we just created
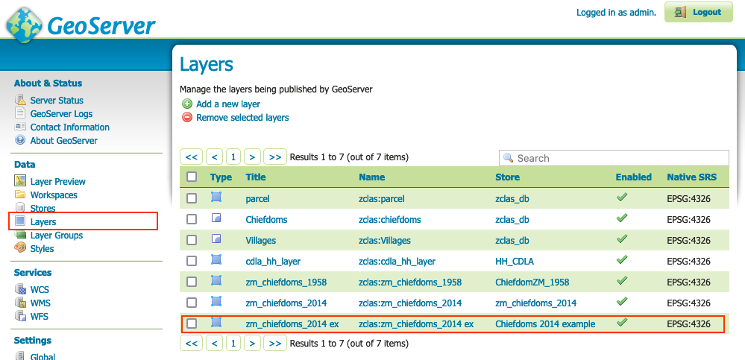
- Go to the ‘Publishing’ tab and change the default style to the style we just created

- Then hit ‘Save’
Preview Layer
- Go to ‘Layer Preview’
- Click on ‘OpenLayers’ on the layer
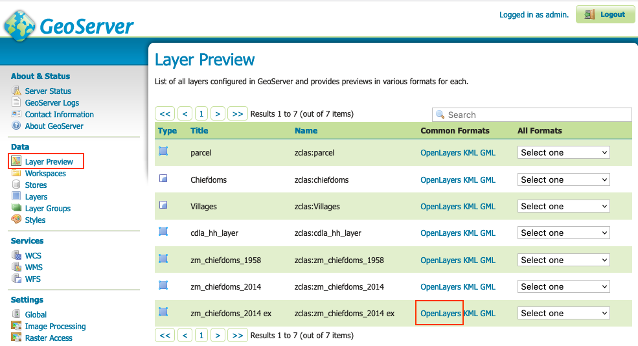
- In the new window, check that everything looks correct, and how you want it
- If you need to make any edits to the style, like changing the font size or color or label, go back to ‘Styles’ and edit the code for the corresponding layer
Configure Geoserver in ZCLAS
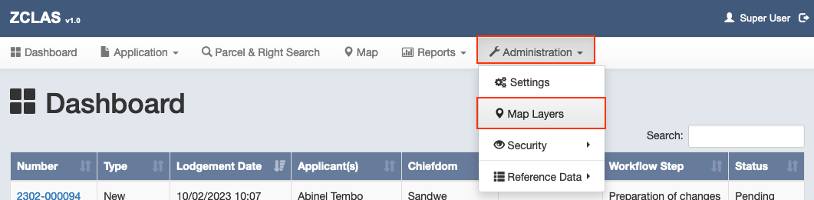
- Go to ZCLAS an login as the superuser
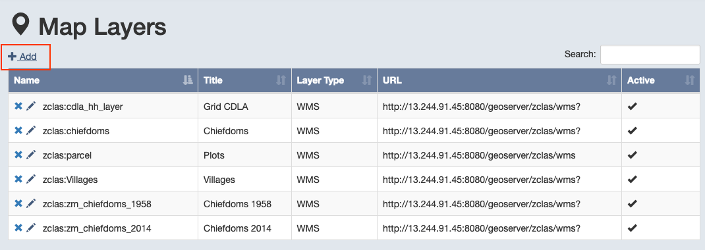
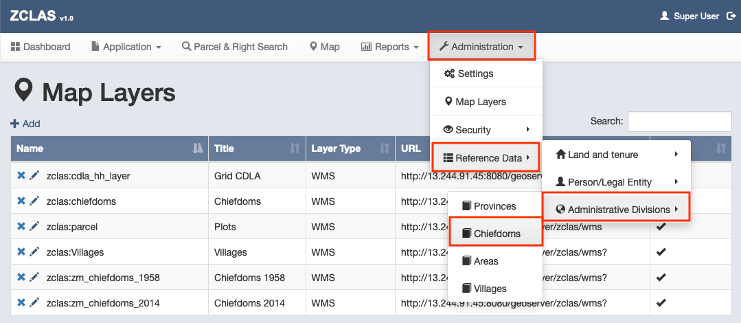
- Go to ‘Administration’ and ‘Map Layers’
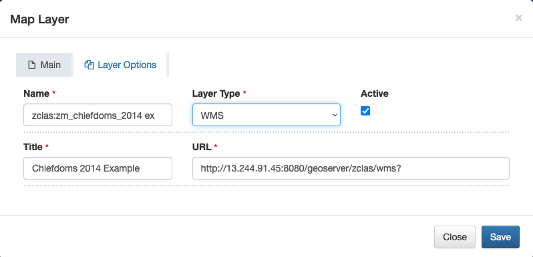
- Click on a preexisting layer, and copy the URL: http://13.244.91.45:8080/geoserver/zclas/wms?
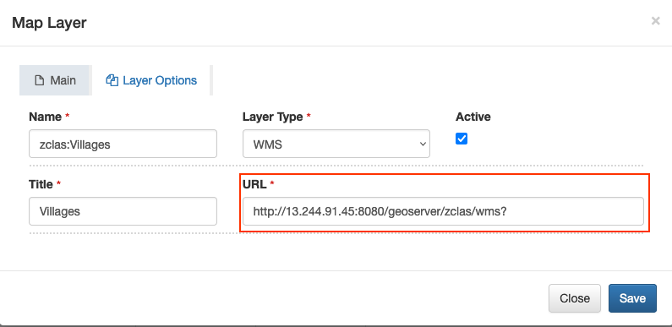
- Click ‘Add’
- Paste in the URL, the ‘Name’ needs to be the same as the name in the Geoserver, you can copy the name from the properties of the layer on the Geoserver interface
- The title is what will appear in ZCLAS, layer type: WMS, hit ‘Save’
- Go to ‘Administration’ > ‘Reference Data’ > ‘Administrative Divisions’ > ‘Chiefdoms’
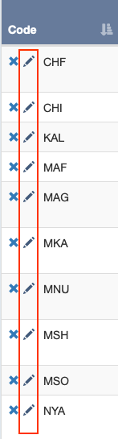
- Choose the ‘Province’ > ‘Eastern’
- Click the edit pencil next to each Chiefdom where you wish to add the layer
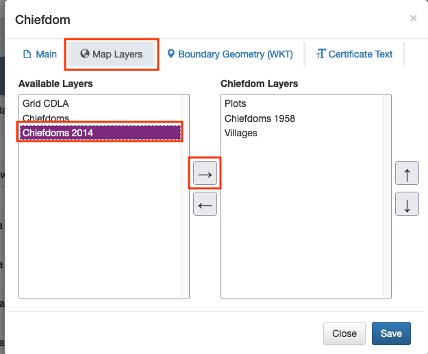
- Go to ‘Map Layers’, then click and highlight the layer you want to display, and click the right arrow
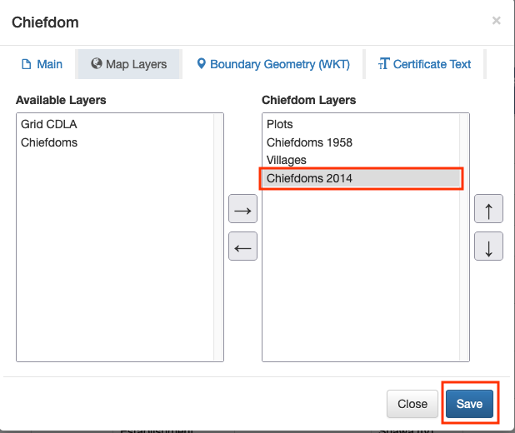
- You should see the layer appear in the ‘Chiefdom Layers’ panel, then hit ‘Save’
- You will need to add the layer to each Chiefdom individually, but if you view Zambia or a Province as a whole, you won’t see the layer listed multiple times
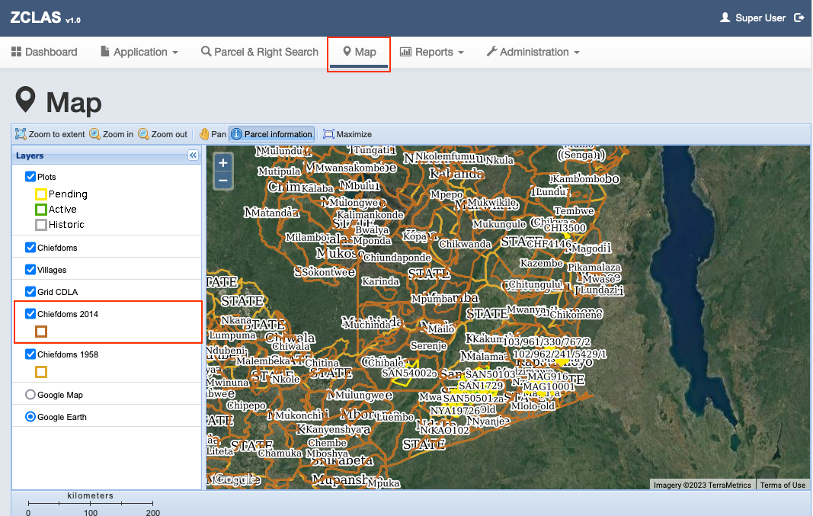
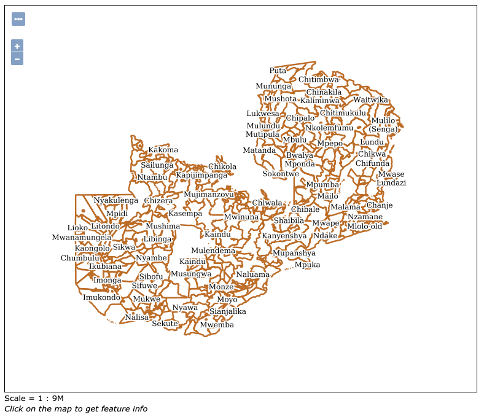
- Then you can go to ‘Map’ and see the layer you added